Build a Perpetual Motion Machine in Blender
Have you ever wondered if it’s possible to create a perpetual motion machine—one that could do work for us indefinitely without any external energy source? It sounds fascinating, but scientists say it’s impossible because such a machine violates the first and second laws of thermodynamics. But what if we could simulate it? In this tutorial, we’ll attempt to build a perpetual motion machine—not in reality, but using Blender, a powerful 3D software that allows us to create animations simulating real-world physics.
What We’ll Cover
In this tutorial, we’ll:
- Model the device
- Add textures and realistic lighting
- Apply physics settings
- Test the machine’s behavior
So, let’s get started and see if we can defy the laws of physics—at least in Blender!
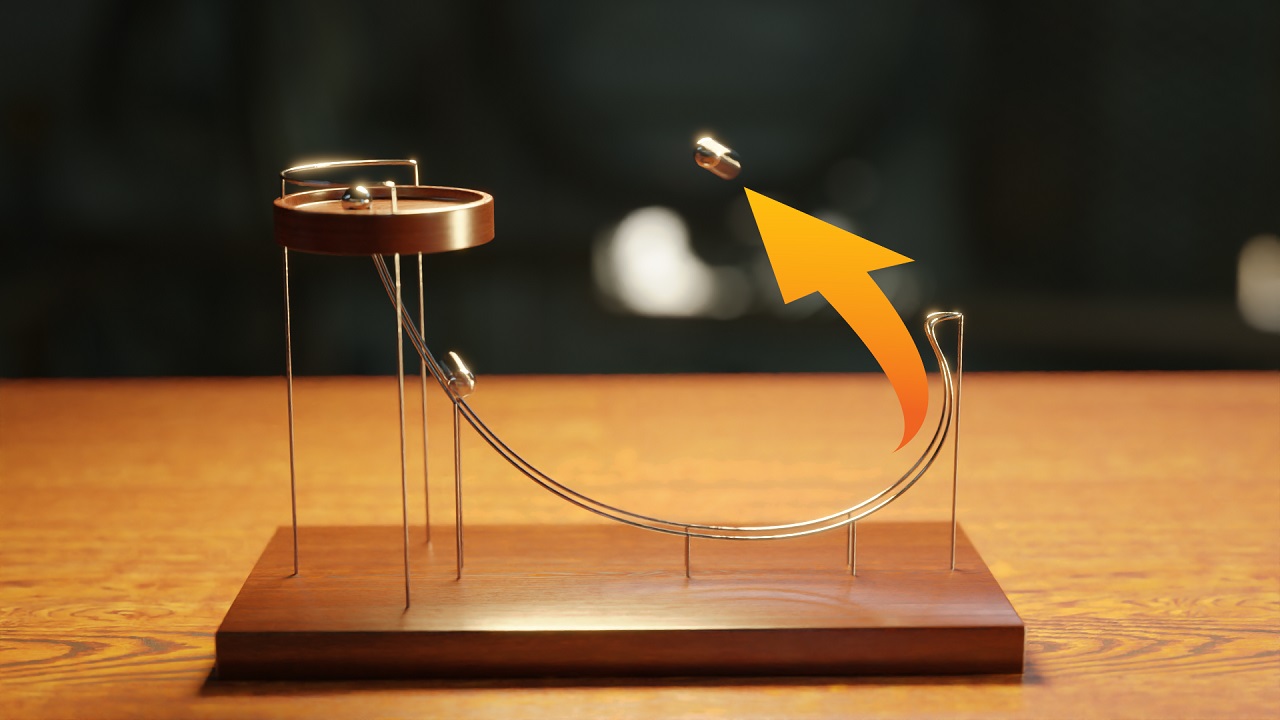
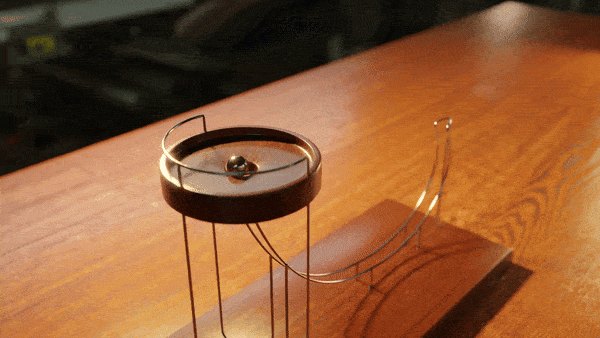
Step 1: Modeling the Machine
We’ll start by creating the base of our machine. Open Blender and let’s begin with basic modeling:
- Create the Base: Start by adding a cylinder and scaling it on the X-axis. You can apply a bevel modifier to smooth out the edges, and increase the segment count while reducing the bevel amount for better definition.
- Top Piece: Now, add a second cylinder to serve as the top part of the device. Scale it to match your reference and use the Inset tool (I) to add some details, such as a middle hole. Apply a subdivision surface modifier to smooth the object further, and add extra edge loops to keep the form crisp.
- Rails and Connections: For the rails, start with a path. Edit the shape to fit your reference by using the Edit mode (Tab). Then, adjust the depth to give the rails a pipe-like appearance. You’ll want the rails to look smooth and functional.
Step 2: Texturing the Machine
To give our machine a realistic look, we’ll use a combination of wood and metallic textures:
- Wood Texture:
- Select the base, go to the Material Properties tab, and create a new material. Call it “Wood.”
- Switch to the Shader Editor and use the Node Wrangler add-on (enable it under Edit > Preferences > Add-ons).
- With the base selected, press Ctrl + Shift + T to select your wood textures. Blender will automatically assign them, but feel free to adjust the mapping to align the wood grain properly.
- Metallic Texture:
- For the rails and ball, create a new material called “Metal.” In the shader, increase the Metallic value to 1 and reduce the Roughness to 0.1 to make the metal shiny.
- Apply the same material to all metal parts of the machine for a cohesive look.
Step 3: Physics Setup
Now that our machine looks great, let’s apply physics to make it functional.
- Setting Rigid Bodies:
- Select the top piece and add a Rigid Body modifier. Set the type to Passive, meaning it won’t move but will interact with other objects.
- Apply the same settings to the rails and base to ensure they act as solid, non-moving parts.
- Animating the Ball:
- Select the ball and set it as an Active Rigid Body so it can roll and interact with the machine.
- Make sure Gravity is enabled in the scene settings (Scene Properties > Gravity should be set to -9.8 m/s²).
Step 4: Testing the Machine
Let’s put our machine to the test!
- Starting the Animation:
- Lift the ball to its starting position and press Space to run the animation. The ball will roll down, but unfortunately, it won’t continue indefinitely—due to friction and air resistance, it will stop after losing energy.
- Understanding the Physics:
- This failure aligns with the First Law of Thermodynamics: energy cannot be created or destroyed. The potential energy of the ball converts into kinetic energy as it rolls, but due to friction and air resistance, that energy slowly dissipates, bringing the ball to a halt.
Step 5: Adding a Hidden Force
To simulate a perpetual motion machine, we’ll need to cheat a little by adding an external force to push the ball continuously.
- Adding a Force Field:
- Press Shift + A and add a Force Field object. Position it where the ball slows down, ensuring that it only pushes the ball in the desired direction.
- Adjust the Strength of the force field to around 10,000 and set its influence to the -Z axis so it pushes upward when needed.
- Running the Simulation:
- Now, run the animation again. The ball should be continuously pushed up by the force field, simulating a perpetual motion machine—at least in Blender!
Conclusion
While a perpetual motion machine is impossible in real life due to the laws of physics, Blender allows us to simulate such concepts in a fun and creative way. By understanding physics, materials, and forces in Blender, we can push the boundaries of animation and create incredible visual effects.
Feel free to download the assets for this project. Thanks for following along, and see you in the next project!
Click the button to start generating your download link…
