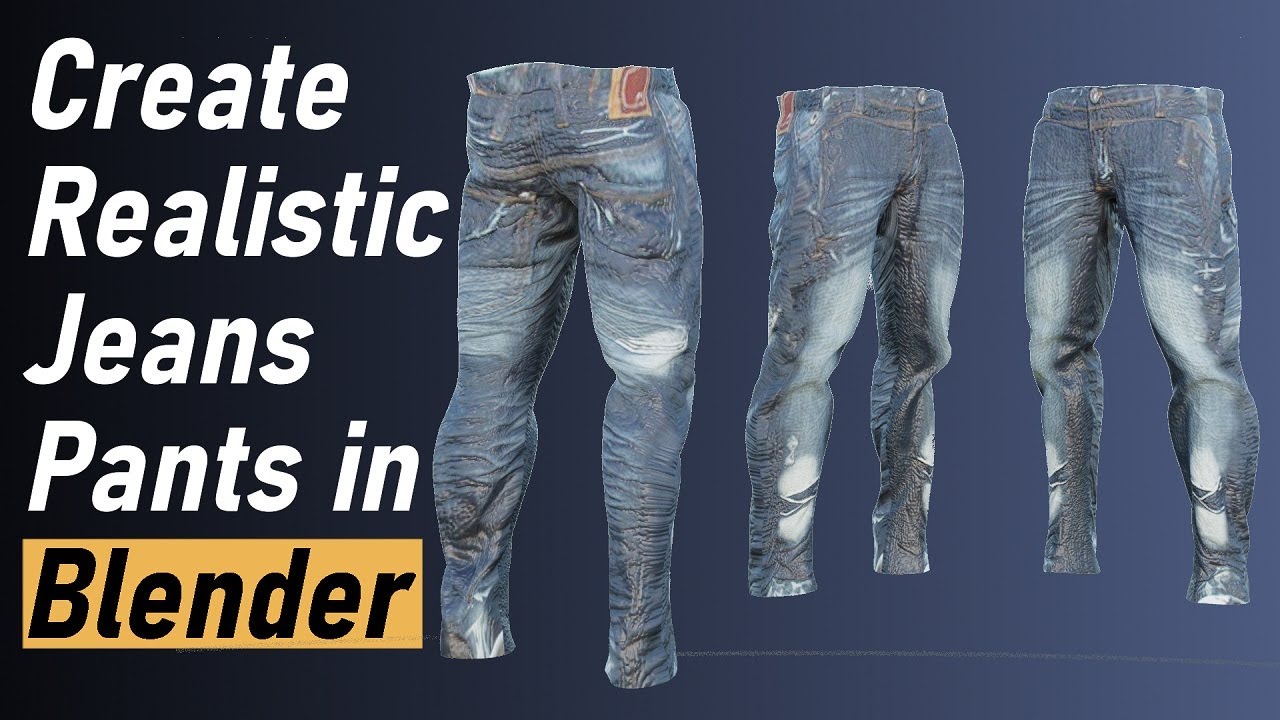
Create Realistic Jeans Pants in Blender
Welcome to this detailed tutorial where we will learn how to create realistic jeans from scratch using Blender. In this guide, we will cover cloth sculpting, UV mapping, and texturing to achieve a lifelike result. If you missed our previous tutorial on crafting a realistic leather jacket, you can find the link below. Now, let’s dive into the process of creating these jeans!
Importing the Base Mesh
- Starting with a Clean Scene
- Open Blender and start a new scene. To clear any existing objects, select everything (
A) and pressXto delete.
- Open Blender and start a new scene. To clear any existing objects, select everything (
- Importing the Base Mesh
- Go to
File>Importand choose the.objfile format. Select the base mesh file, which you’ll find in the provided resources, and import it.
- Go to
- Adjusting the Scale
- Your base mesh might be too large. Press
Nto bring up the properties panel, and in theItemtab, check the Z-axis value. Scale down the mesh by pressingSand resizing it to a more realistic height, such as 1.8 or 1.9 meters. - Apply the scale with
Ctrl + A>Scaleto ensure accurate modeling.
- Your base mesh might be too large. Press
Modeling the Jeans
- Cutting the Jeans Section
- Switch to
Edit Mode(Tab), press1for front view, and useCtrl + Alt + Ato deselect everything. PressBto box select the area for the jeans. - Switch to
Wireframeview (Z) to ensure both sides are selected. PressShift + Dto duplicate the selection, then pressPto separate it into a new object.
- Switch to
- Cleaning Up
- Rename the new object to “Jeans” by pressing
F2. - Remove any extra loops and faces that are not needed. Use
Alt + Clickto select entire rows and pressXto delete faces.
- Rename the new object to “Jeans” by pressing
- Shaping the Top
- For the top of the jeans, delete unnecessary faces and adjust the shape by extruding edges (
E) and merging vertices (M) at the center.
- For the top of the jeans, delete unnecessary faces and adjust the shape by extruding edges (
- Smoothing
- Smooth the top edge of the jeans by switching to the
Sculptingtab, selecting theSmoothbrush, and gently brushing the area.
- Smooth the top edge of the jeans by switching to the
Texturing the Jeans
- Applying the Texture
- Switch to the
Shader Editor. Create a new material named “Jeans Pants” and connect the jeans texture (available in the resources) to theBase Color.
- Switch to the
- UV Mapping
- Split the window and switch one view to the
UV Editor. InEdit Mode, select all (A), and pressU>Unwrap. - Mark seams by selecting edges where you want to cut the UV map. Use
Ctrl + Eand chooseMark Seam. Repeat for the inner and outer sides.
- Split the window and switch one view to the
- Adjusting UVs
- After unwrapping, arrange the UVs in the UV Editor to match the texture. Use
Gto move,Rto rotate, andSto scale the UV islands.
- After unwrapping, arrange the UVs in the UV Editor to match the texture. Use
Adding Details
- Improving the Texture
- Add a
Color Rampnode to adjust the roughness of the jeans texture. Connect it to theRoughnessinput of thePrincipled BSDFshader. Adjust the sliders for a more realistic look. - Add a
Bumpnode to give texture detail by connecting it to theHeightinput. Adjust the strength to achieve a realistic effect.
- Add a
- Sculpting the Details
- Switch to the
Sculptingtab and use theClothbrush to create wrinkles and folds. Adjust the brush strength for finer details. - Use the
Multi-Resolutionmodifier to add more detail layers for sculpting. Increase subdivisions as needed.
- Switch to the
- Fine-Tuning
- Use various brushes, like
Clay StripsandCrease, to refine the details. Add any necessary adjustments to improve the appearance of the jeans.
- Use various brushes, like
Final Touches
- Setting Up Lighting
- In the
Render Properties, switch to theCyclesengine and set up a sky texture for lighting. Adjust the scene to get a realistic render of your jeans.
- In the
- Rendering the Final Result
- Review the final render to ensure all details look realistic. Make any necessary adjustments to lighting or materials to perfect the appearance.
Conclusion
Congratulations! You’ve now created a realistic pair of jeans from scratch in Blender. If you have any questions or need further assistance, feel free to ask in the comments below. Thank you for following along, and I hope to see you in future projects!
