Blender 2D Image to 3D Model using ChatGPT – Blender Tutorial
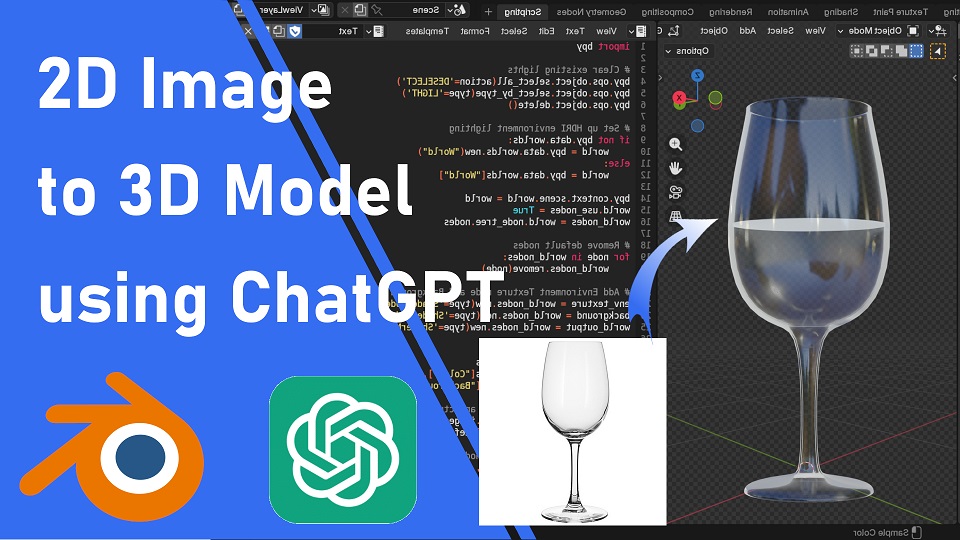
In this tutorial, I’ll show you how to turn a 2D image into a 3D model in Blender using AI. We’ll use a Python script generated by ChatGPT to create a wine glass model from a 2D reference image.
1. Know the Approach
The traditional way of modeling a wine glass would be tricky for AI, but using a Python script, we can generate the model easily. We’ll use the Screw Modifier in Blender to revolve vertices around the Z-axis based on the shape of the glass.
2. Write the Prompt for ChatGPT
Upload your reference image and prompt ChatGPT with the following:
Prompt Example:
“Write a Python script for Blender to create a 3D model of a wine glass.
Generate vertices that follow the green line highlighted in the reference image.
Use the red dot as the center point.
Use the Screw Modifier to revolve the vertices around the Z-axis with a 360-degree angle to form the wine glass.”
3. Execute the Python Script
After getting the script from ChatGPT, copy and paste it into Blender’s text editor and run it. Your 3D wine glass will be created instantly!
Python Script:
Conclusion
After getting the script from ChatGPT, copy and paste it into Blender’s text editor and run it. Your 3D wine glass will be created instantly!
By following these simple steps, you’ll be able to create detailed 3D models quickly with the help of AI!

3 Comments
Hello,
Very good tutorial. One question, the green line and the red dot, should they be drawn on the image provided in chatGPT, or should the glass already be composed via blender?
Kind regards
Hello Duveau, thank you for the kind words, The green line serve as a guide for the ChatGPT, because the AI get lost and doesn’t know the glass edge, that’s why we have to draw it.
Malheureusement impossible d’obtenir le même résultat, je suis sur blender 4.3 et voici le script python fourni par chatGPT (j’utilise le même prompt que vous : (To create a 3D model of a wine glass in Blender using Python, we’ll use the vertices to trace the green line in the reference image. The red dot will serve as the center of rotation around the Z-axis. Below is a Python script for Blender that implements this) et j’ai utiliser le même type de verre que vous avec image en jpeg et regalement en png
import bpy

 import bmesh
# Clear existing scene
bpy.ops.object.select_all(action=’SELECT’)
bpy.ops.object.delete(use_global=False)
# Wine glass outline (vertices for the green curve)
# The coordinates are estimated; you’ll need to refine them by observing the image
vertices = [
(0.0, 0.0, 0.0), # Base (red dot center)
(0.0, 0.0, 0.1), # Slight elevation
(0.02, 0.0, 0.3), # Stem width increase
(0.04, 0.0, 1.2), # Top of the stem
(0.1, 0.0, 1.4), # Start of the bowl
(0.3, 0.0, 2.0), # Bowl curve outward
(0.25, 0.0, 2.5), # Narrowing towards the rim
(0.0, 0.0, 2.6), # Rim of the glass (center)
]
# Create a new mesh and object
mesh = bpy.data.meshes.new(“WineGlassMesh”)
obj = bpy.data.objects.new(“WineGlass”, mesh)
# Add object to the scene
bpy.context.collection.objects.link(obj)
# Create a new BMesh and add the vertices
bm = bmesh.new()
for vert in vertices:
bm.verts.new(vert)
bm.verts.ensure_lookup_table()
# Connect the vertices to create edges
for i in range(len(vertices) – 1):
bm.edges.new((bm.verts[i], bm.verts[i + 1]))
# Write BMesh data to the mesh
bm.to_mesh(mesh)
bm.free()
# Add a Screw Modifier
obj.modifiers.new(name=”Screw”, type=’SCREW’)
obj.modifiers[“Screw”].axis = ‘Z’
obj.modifiers[“Screw”].angle = 6.28319 # Full rotation (360 degrees)
obj.modifiers[“Screw”].steps = 64 # Number of steps for smoothness
# Adjust view
for area in bpy.context.screen.areas:
if area.type == ‘VIEW_3D’:
for space in area.spaces:
if space.type == ‘VIEW_3D’:
space.shading.type = ‘SOLID’
break
# Enter object mode and select the object
bpy.ops.object.mode_set(mode=’OBJECT’)
obj.select_set(True)
print(“Wine glass created successfully!”)