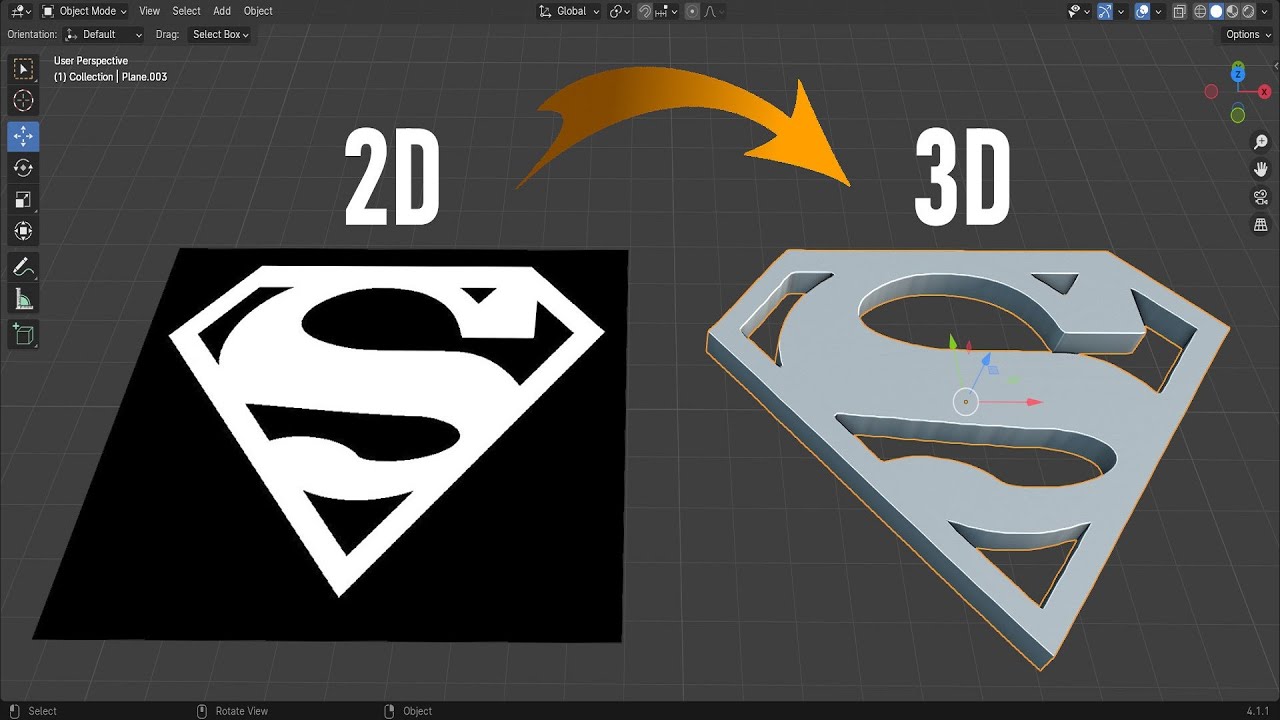
Blender Tutorial – Turn Any 2D Logo to 3D Model – Quick & Easy (Superman Edition)
In this tutorial, I will walk you through the process of turning any 2D image into a 3D object in Blender without traditional modeling. We’ll be using Blender’s built-in “Image as Planes” add-on and the Displace modifier to convert a flat 2D image into a 3D mesh.
1. Import Image as Plane: Bringing Your 2D Image into Blender
First, we need to import our image logo as a plane inside Blender. To start:
- Open Blender and delete the default objects by pressing
A, followed byX, and selecting Delete. - Enable the “Image as Planes” add-on:
- Go to Edit > Preferences.
- In the Add-ons section, search for “Images as Planes” and check the box next to it.
- To import the image, press
Shift + A, scroll down to Image, and select Images as Planes. Choose your desired image file, and it will be placed as a plane in your workspace.
Include Screenshot 1: Show where to find the “Images as Planes” option in the Add-on Preferences. Include Screenshot 2: Demonstrate importing the image as a plane.
- Press
Zand switch to Preview Mode to see your image on the plane.
2. Use the Displace Modifier: Transforming the 2D Image into a 3D Mesh
Now that the image is set up, we will use the Displace modifier to turn the flat plane into a 3D shape by creating variations in height based on the image.
- Select your plane and go to the Modifier Properties panel on the right.
- Click Add Modifier and choose Displace.
- Under Texture Coordinates, switch from Local to UV.
- Reduce the Strength of the displacement to around
0.2for better control.
Include Screenshot 3: Show the Displace modifier settings, including switching to UV coordinates and reducing the strength.
- To assign the correct texture for displacement, go to the Texture Properties tab and select the same image as the texture.
Include Screenshot 4: Display selecting the image texture under the Texture Properties.
3. Add More Geometry: Subdividing the Plane
For the Displace modifier to work properly, your plane needs more geometry. By default, the plane has only four vertices, which is insufficient to create detailed 3D shapes.
- Select the plane, press
Tabto enter Edit Mode, and pressAto select all vertices. - Press
Ctrl + Eand select Subdivide. In the pop-up menu at the bottom, increase the Number of Cuts to10.
Include Screenshot 5: Show the subdivide menu and the increase in cuts to add more geometry.
- If needed, subdivide the plane again to add even more geometry. You can repeat the process by increasing cuts to
5or8, but be cautious—too many subdivisions can slow down or crash your computer.
4. Clean Up the Geometry: Refining the Model
Now that the plane has been displaced into a 3D shape, we’ll clean up the unnecessary geometry to optimize the model.
- First, apply the Displace modifier by clicking the drop-down arrow next to it and selecting Apply.
- Switch to Wireframe Mode by pressing
Zand selecting Wireframe. This will make it easier to select unwanted vertices. - Select the unnecessary background vertices, press
X, and choose Delete.
Include Screenshot 6: Show the selection of vertices in Wireframe Mode for deletion.
- To ensure the remaining vertices are aligned, press
Ato select everything, then pressS,Z, and type0to flatten them on the Z-axis.
5. Define the Edges and Add Depth
With the cleaned-up geometry, we can now add some depth and make sure the edges of the object are well-defined.
- To select the outer edge of the logo, go to Select > Select Sharp Edges.
- Press
Eto extrude the geometry downward and create thickness. - Optionally, press
Shift + Dto duplicate the outer edge, pressPto separate it into a new object, and hide the original object to simplify the model.
Include Screenshot 7: Show the process of extruding the edges and adding depth.
- Use the Smooth Modifier to smooth out any twisted or rough edges. Go to the Modifier Properties panel, add the Smooth modifier, and increase the Repeat value to
10.
6. Optimize Geometry: Reducing the Vertex Count
To further optimize the model:
- Select the entire object and go to Edge > Un-Subdivide to reduce unnecessary vertices.
- For sharp areas that don’t need many vertices, select those edges and press
Mto Merge at Center.
Include Screenshot 8: Highlight where vertices were merged and the result after applying the smooth modifier.
7. Use Boolean Operations: Perfecting the Shape
Finally, to make the shape even more precise, we’ll use a Boolean Modifier:
- Select the base object, add a Boolean Modifier, and choose the logo object as the cutting object.
- Switch the Boolean type from Exact to Fast, and apply the modifier.
- Hide the cutting object by pressing
H.
Include Screenshot 9: Demonstrate applying the Boolean modifier and hiding the cutting object.
8. Achieving the Final Result: Adding Final Touches and Rendering
For the final step, add a Solidify Modifier to give the logo more depth:
- Select the object, go to Modifier Properties, and add the Solidify Modifier.
- Increase the Thickness to your desired level.
Include Screenshot 10: Show the Solidify Modifier and the final result with the logo having thickness and clean geometry.
Once you’re satisfied with the result, you can render the scene by pressing F12. Your 2D image is now a fully 3D object, ready for further detailing or use in animations!
