Blender Tutorial – Turn Any 2D Image to 3D Model – Quick & Easy
How to Convert Any Image into a 3D Mesh in Blender (Without Modeling)
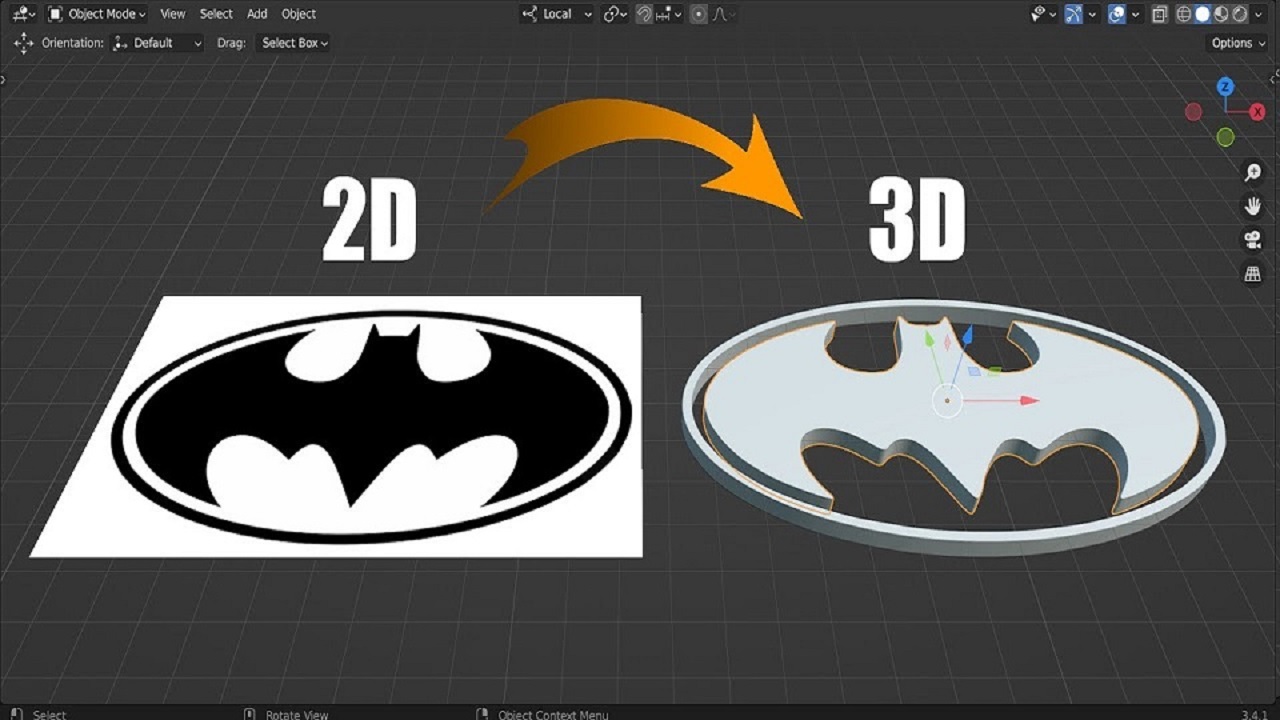
Have you ever wondered how to turn a 2D image into a 3D mesh in Blender without manually modeling it? This tutorial will guide you step-by-step through the process using a simple plane and a few modifiers. By the end, you’ll have transformed your image into a 3D model without needing advanced modeling skills.

Step 1: Adding and Subdividing a Plane
To start, open Blender and add a plane to your scene:
- Press
Shift + A, then select Mesh > Plane.
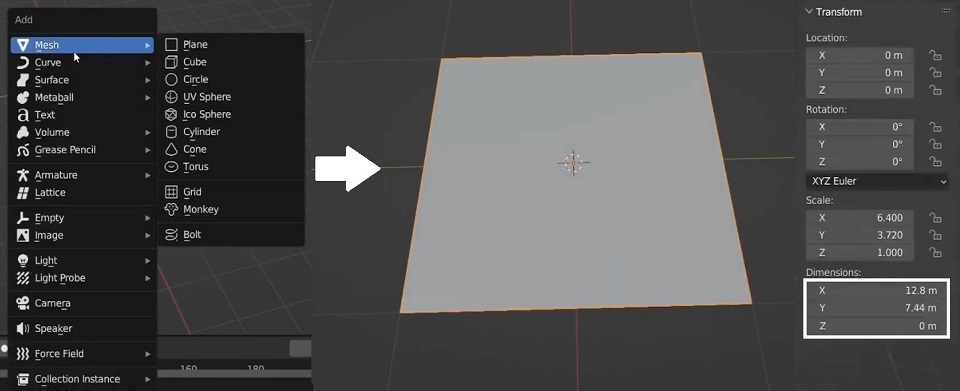
Screenshot: Capture the Blender interface showing the addition of a plane.
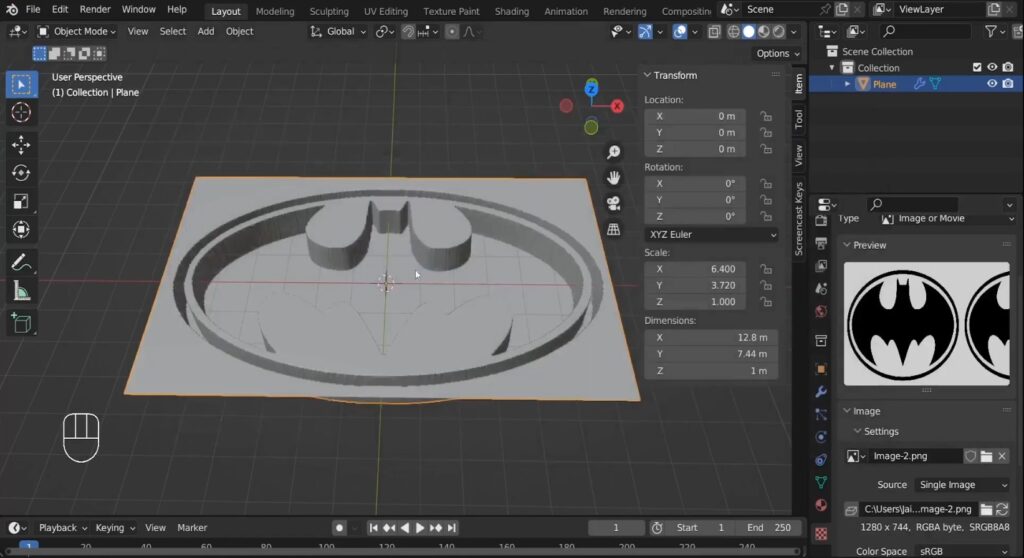
- Go to the Item tab by pressing
N, and adjust the plane’s dimensions to match your reference image. For instance, if your image is 1280 x 744 pixels, enter12.80and7.44for the plane’s dimensions to maintain the proportions.
Now, let’s subdivide the plane:
- Switch to Edit Mode by pressing
Tab. - Press
Ctrl + Eand choose Subdivide.
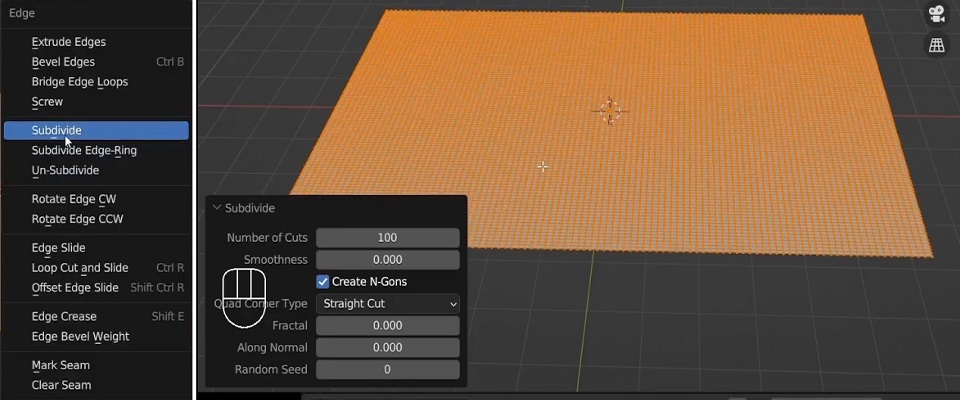
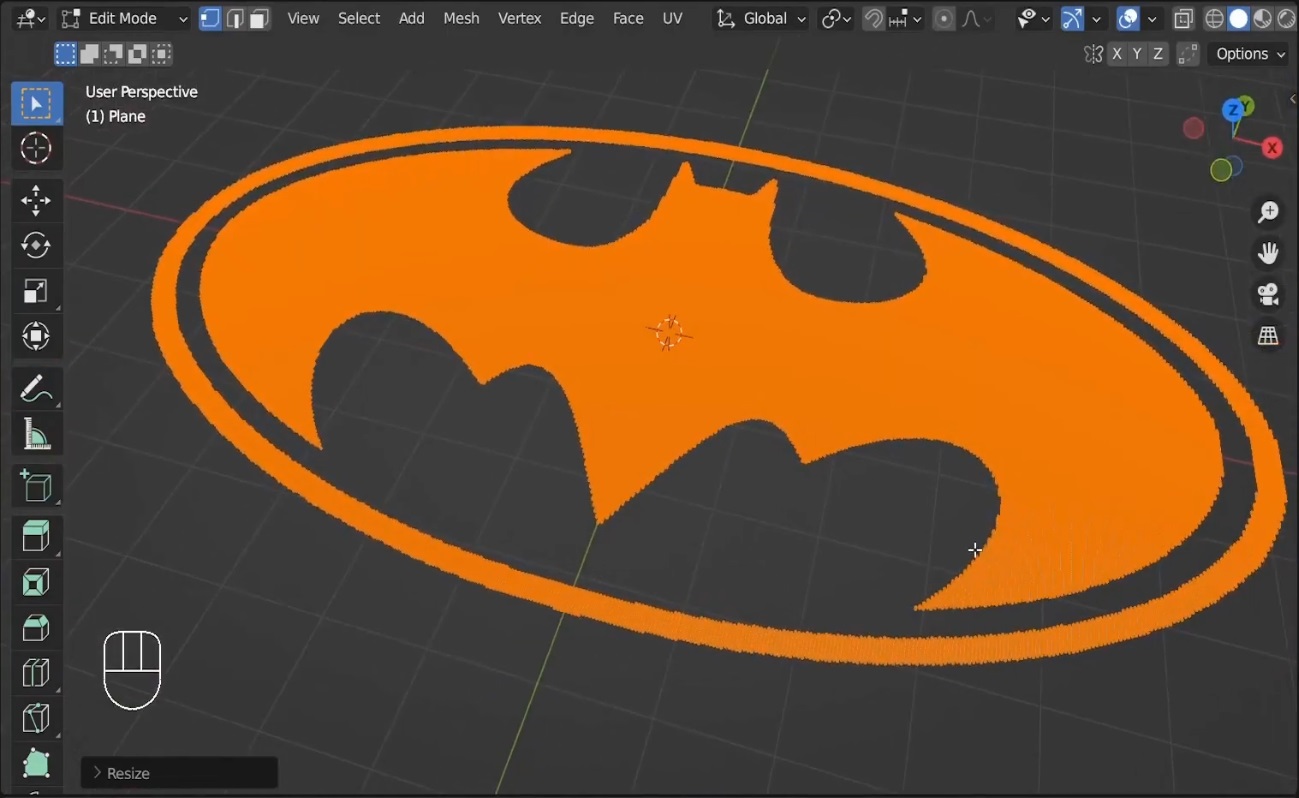
Screenshot: Highlight the subdividing of the plane.
- A pop-up will appear; increase the number of subdivisions to 100 for higher detail.
- Press
Ctrl + Eagain and subdivide one more time to add even more detail.
Subdividing the plane adds vertices, which will later allow you to map the image’s texture and convert it into a 3D surface.
Step 2: Applying the Displace Modifier
Next, we’ll add a Displace Modifier to project the image onto the subdivided plane:
- With the plane selected, go to the Modifier Properties tab and add a Displace Modifier.
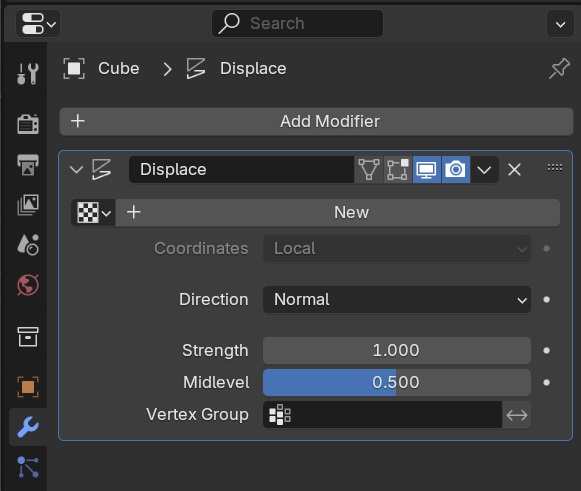
Screenshot: Show the Displace Modifier being added.
- Scroll down to the Texture section, click New, and open your reference image.
Screenshot: Display the texture section with the image being applied.
- Adjust the strength of the displacement to
-0.25to reverse the extrusion effect.
Blender will now push down the dark areas of the image and pull up the lighter areas, creating a 3D effect based on the texture.
Step 3: Optimizing the Mesh
To improve the quality of the mesh, follow these steps:
- Apply the Displace Modifier by clicking Apply in the Modifier panel.
- Switch to Wireframe Mode by pressing
Zand dragging to select the bottom part of the plane. Delete the bottom faces to leave only the top surface. - Press
S+Zand then0to flatten the surface along the Z-axis, making the vertices even.
Screenshot: Delete unwanted faces and optimize the mesh
Now, you’ve cleaned up the mesh, but it might still look a bit rough. Let’s smooth it out!
Step 4: Smoothing the Mesh
To get smoother lines and details:
- Select the mesh and go to Select > Select Sharp Edges.
![]()
Screenshot: Capture selecting sharp edges from the menu.
- Add a Smooth Modifier from the Modifier tab and increase the repeat value to around 30 to get smooth results.
![]()
Screenshot: Show the Smooth Modifier being applied and the repeat value set to 30.
After applying the smooth modifier, your model should look much cleaner.
Step 5: Finalizing the Mesh
To complete the mesh:
- Unsubdivide the mesh to reduce unnecessary vertices by selecting the mesh, pressing
Ctrl + E, and choosing Unsubdivide. - Merge vertices where necessary to clean up the corners. Press
Mand select Merge at Center to simplify these areas. - Finally, press
Lto select parts of the mesh, and useFto fill any missing faces.
![]()
Screenshot: Capture the filling of faces using the F key.
- To give the model depth, add the Solidify Modifier and adjust the thickness.
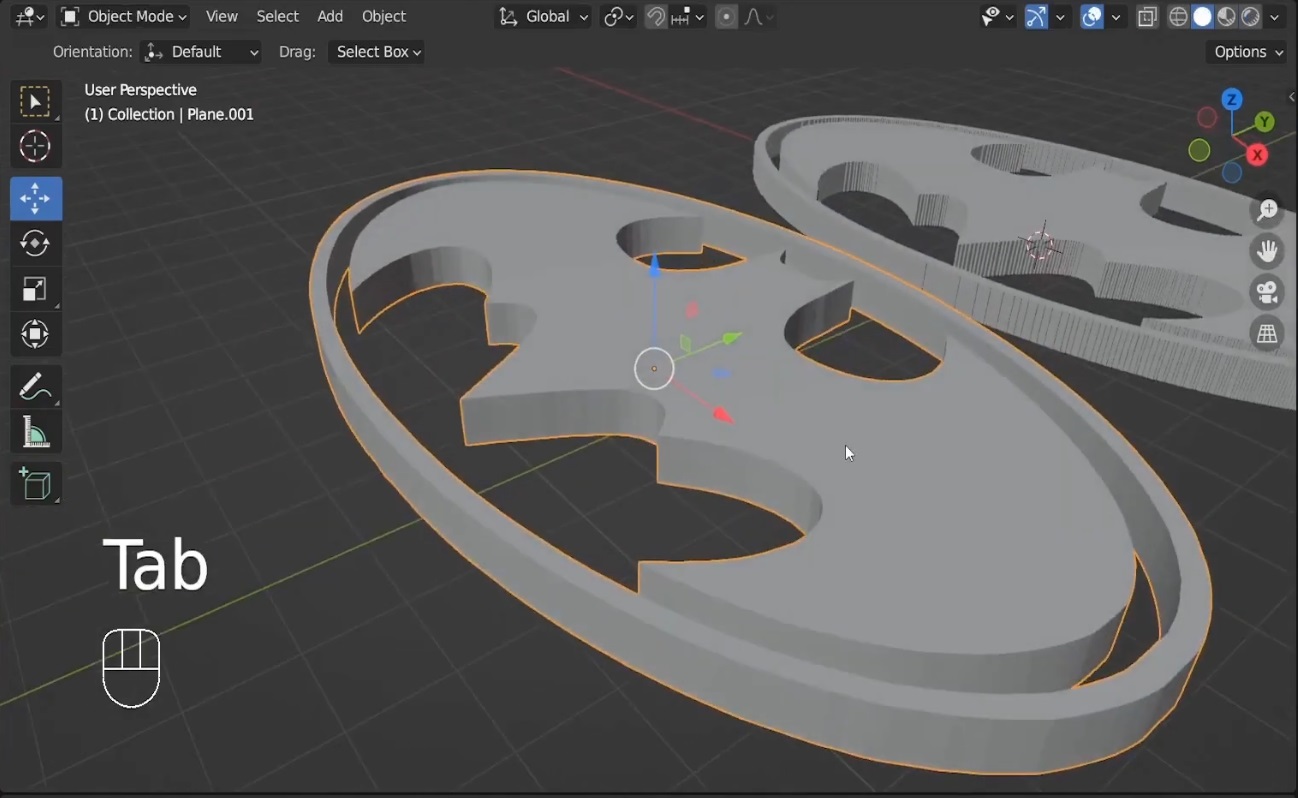
Screenshot: Show the Solidify Modifier in action.
- If you encounter issues with the normals, select everything, press
Shift + N, and recalculate the normals. - Finally, right-click and choose Shade Auto Smooth to clean up the appearance.
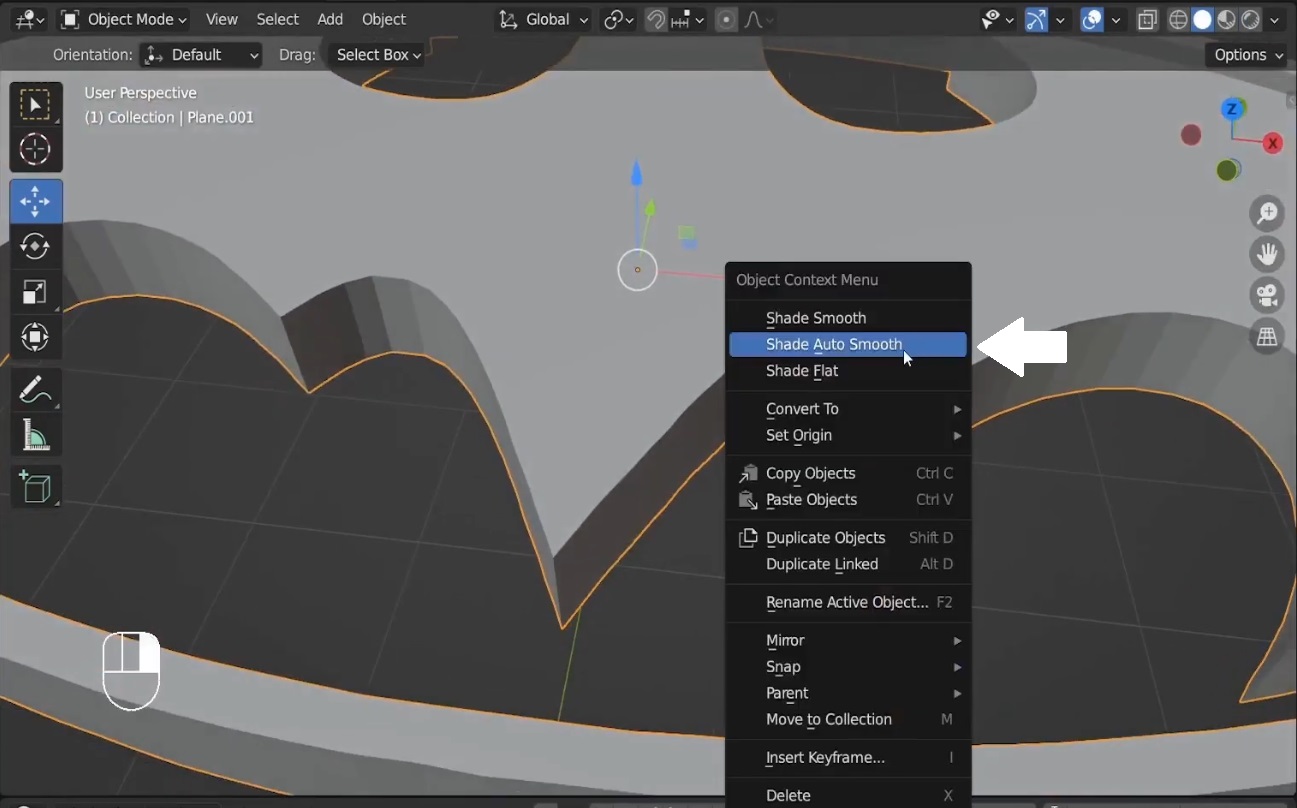
Screenshot: Show the Shade Auto Smooth being applied.
Conclusion
You’ve successfully converted your image into a 3D mesh! By following these steps, you can now quickly turn 2D images into 3D models in Blender using the Displace Modifier. If you have any questions, feel free to leave a comment below. Happy Blending!
Click the button to start generating your download link…
